The Art of Photography: The Exposure Triangle
Aperture, shutter speed, ISO sensitivity: understanding the exposure triangle to master exposure and take control of your images.
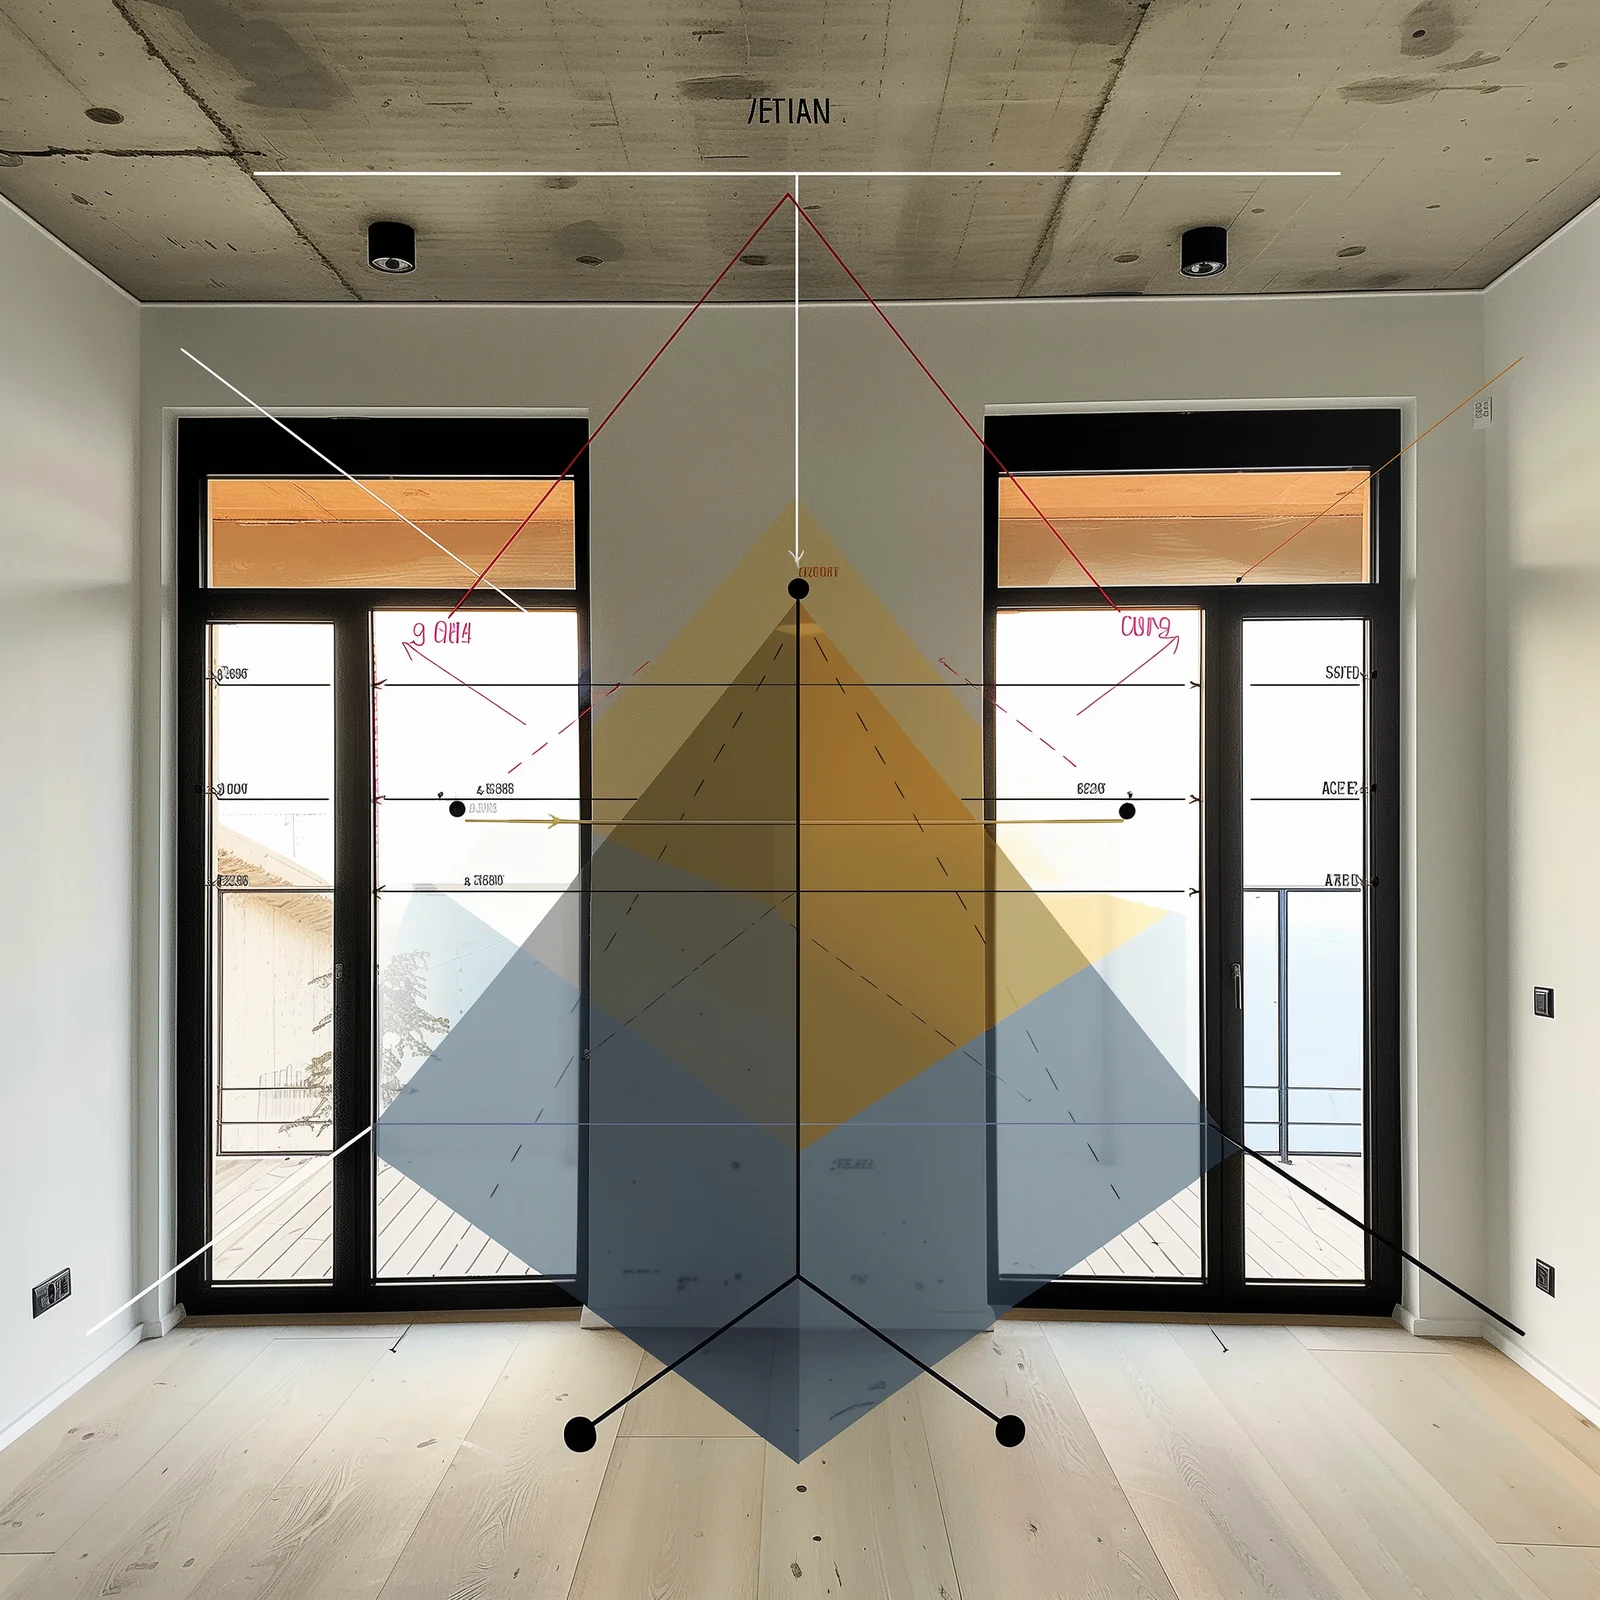
The exposure triangle is a fundamental concept in photography that links three key elements: aperture, shutter speed, and ISO sensitivity.
It is one of the first subjects I cover in one-to-one photography training.
Understanding this triangle is essential for mastering exposure and producing high-quality images.
This article is part of the “The Art of Photography” series, a captivating journey through the many facets of this fascinating art form. Designed for amateur photographers and professionals alike, this series aims to deepen your understanding of photography. Whether it’s mastering light, discovering the history of this art, or exploring advanced techniques such as exposure and composition, I invite you on an enriching journey that promises to broaden your photographic horizons, whether you wish to develop your artistic identity or capture the essence of urban life through your lens.
Each article in this series is a source of information and inspiration, covering everything from the manipulation of light to create stunning images, to the exploration of the history of photography and its impact on how we see the world. I will share practical tips and techniques to help you improve your photography skills, while encouraging you to develop a photographic style of your own.
Other articles in the series:
Introduction to the Exposure Triangle
Exposure is the process by which light from outside is transformed into an image inside the camera, the darkroom, or the smartphone…
By extension, the term exposure refers to the amount of light that reaches the camera’s sensitive surface. This amount depends on the aperture of the diaphragm, the shutter speed, and the sensitivity (of the film or sensor).
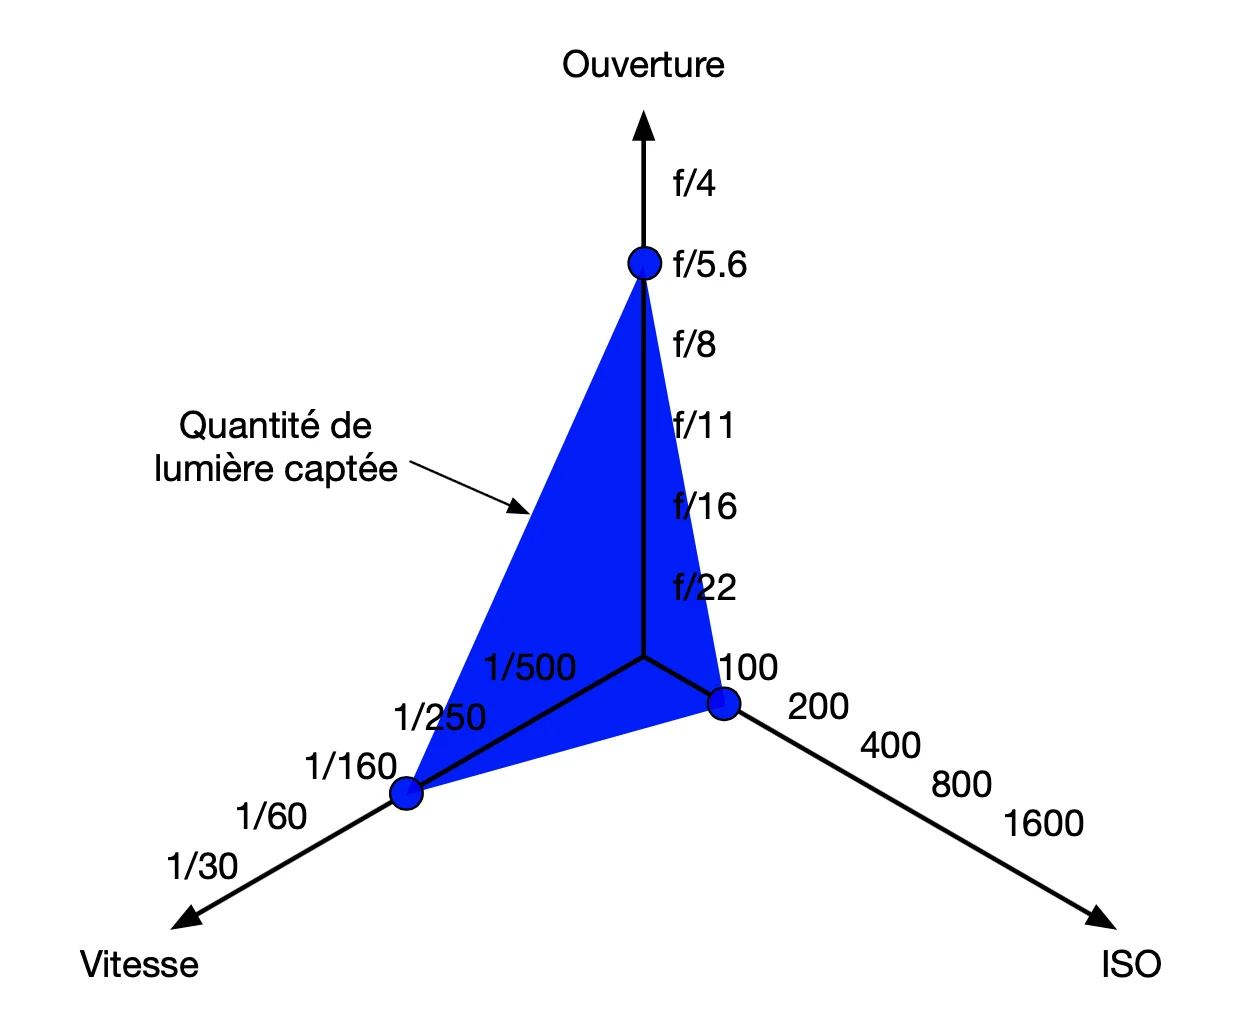
An exposure setting on the exposure triangle
The exposure triangle is a concept formalised in the 1970s by Bryan Peterson. It states that these three parameters are always related: if one parameter is changed, one of the other two must be adjusted to maintain the same exposure. This is what your camera manages automatically… as best it can 😵
Backlight
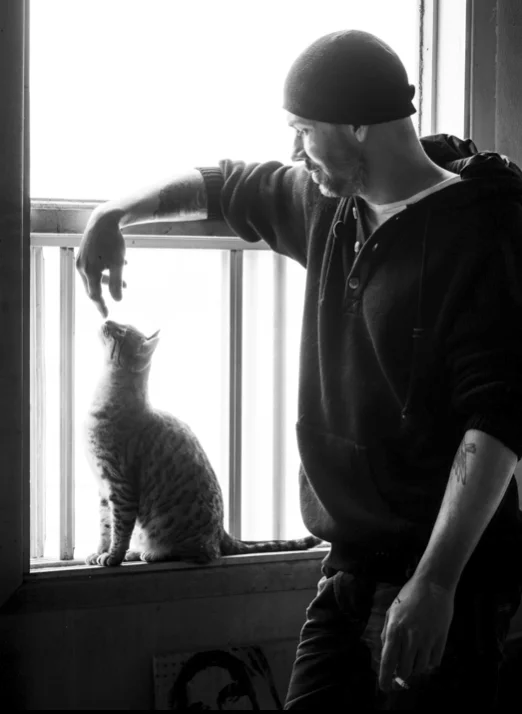
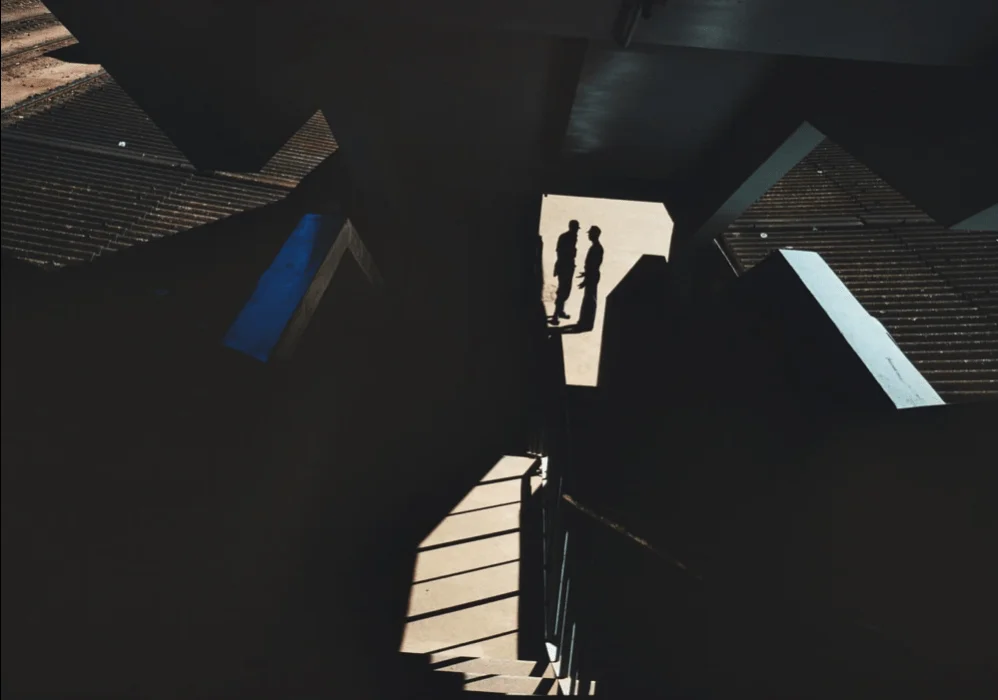
Strong contrasts
Images © apprendre-la-photo.fr
However, the camera’s automatic settings are not perfect, and your camera cannot know your creative intent. What will your camera decide in automatic mode when the scene you want to capture presents difficulties (backlighting, strong lighting contrasts, a moving subject, etc.) or when you want to achieve a specific look?
To take control of your exposure and anticipate difficulties, it is then necessary to switch to manual mode (M mode or a semi-automatic mode such as A or S).
Aperture: Controlling Light and Depth of Field
Aperture refers to the size of the diaphragm opening in the camera lens. Measured in f-stops, it affects the amount of light that reaches the camera’s sensor.
A larger aperture (for example f/2.8) lets in more light, ideal for low-light conditions, while a smaller aperture (for example f/16) allows for greater depth of field, useful for landscapes, but lets in less light (risk of underexposure).
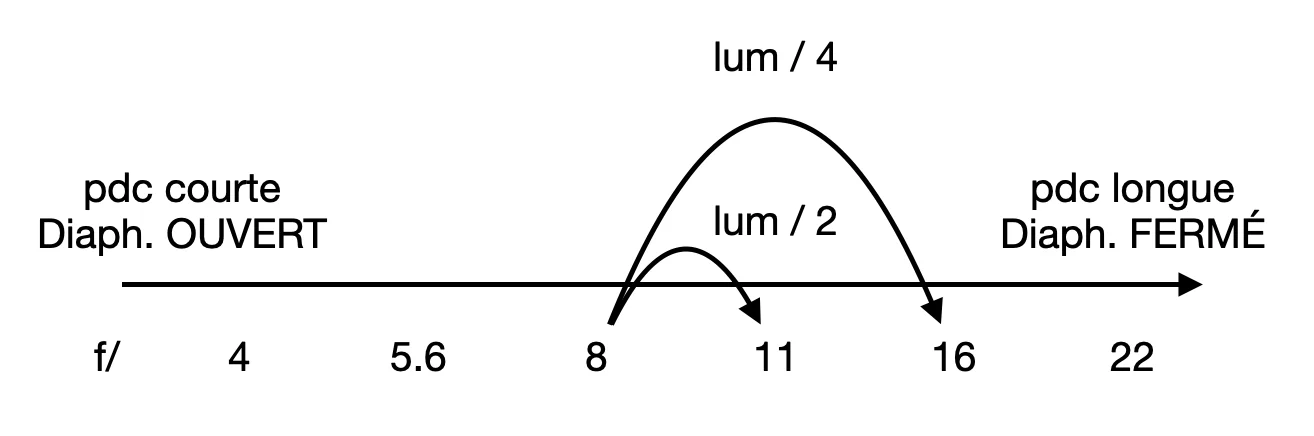
The more the diaphragm (‘diaph’) is closed (a large number, e.g. f/36), the less light enters and the greater the depth of field will be.
Conversely, the more the diaphragm is open (a small number, e.g. f/2.8), the more light enters and the shallower the depth of field will be.
The aperture must therefore be set according to the available light and the desired depth of field.
Moving from one stop to the next divides the amount of incoming light by 2.
f/4
f/22
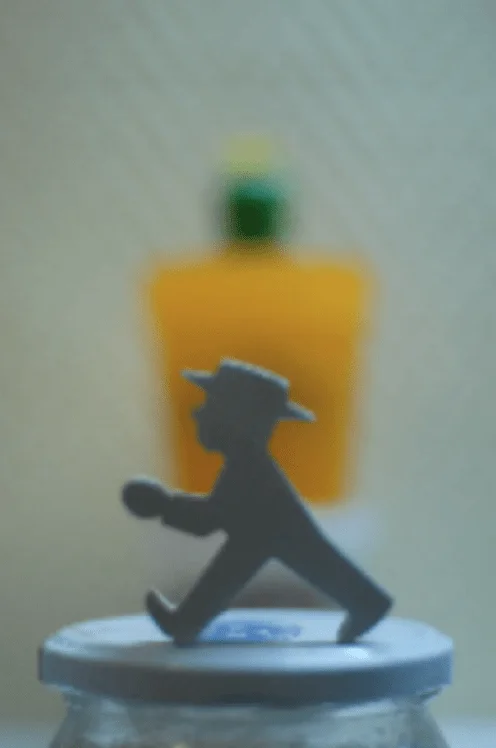
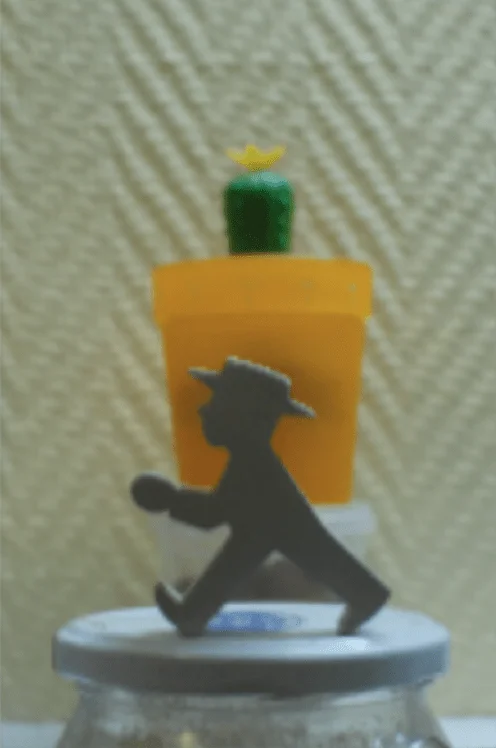
Images © Stanislas LEDOUX
Shutter Speed: Capturing Motion
Shutter speed indicates how long the sensor is exposed to light. A fast speed (for example 1/1000s) freezes the action, perfect for capturing fast-moving subjects without blur. Conversely, a slow speed (for example 1s) records movement, creating an artistic blur effect, as with flowing water.
On the camera, shutter speed is expressed in fractions of a second. But be careful: if 25 is displayed on the camera’s screen, this means 1/25 sec. (0.04 sec.)
The shutter speed chosen determines whether subjects moving within the camera’s field of view are frozen or not. The faster the subject moves, the faster the shutter speed must be.
A basic rule for avoiding camera shake: always use a shutter speed faster than the inverse of the focal length — for example, for a fixed 35mm lens -> choose a minimum shutter speed of 1/40s.
A few examples of indicative shutter speeds depending on the subject:
- Birds in flight: 1/2000
- Action sports: 1/500 – 1/100
- Street photography: 1/250 – 1/500
- Landscapes: 1/125 – 1/4
- Road traffic with motion blur: 1/15 – 1/60
- Waterfalls: 1/8 – 2 sec.
- Moving water: 0.5 – 5 sec.
- Fireworks: 2 – 8 sec.
- Starry sky: 15 – 25 sec.
- Star trails: 15 min or more.
Warning: below a certain speed (1/8~1/4), depending on your settings, a tripod may be necessary.
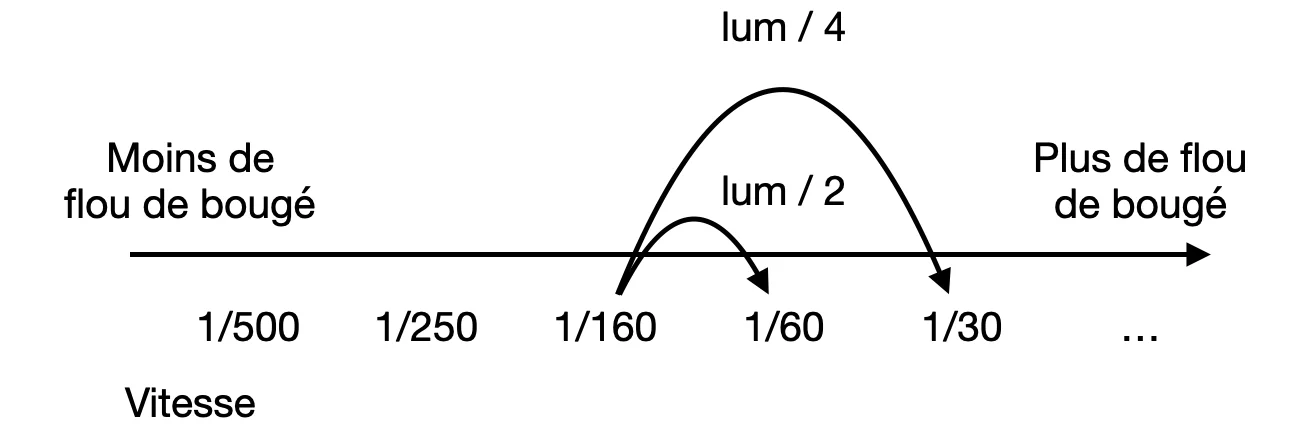
How do the rules specific to shutter speed relate to the exposure triangle? If I go from 1/30 to 1/60 because my subject is too fast, I change the exposure by one full stop (-1 stop of light) -> I then need to regain +1 stop (via aperture or ISO) to maintain correct exposure.
ISO Sensitivity: Adapting to the Lighting Environment
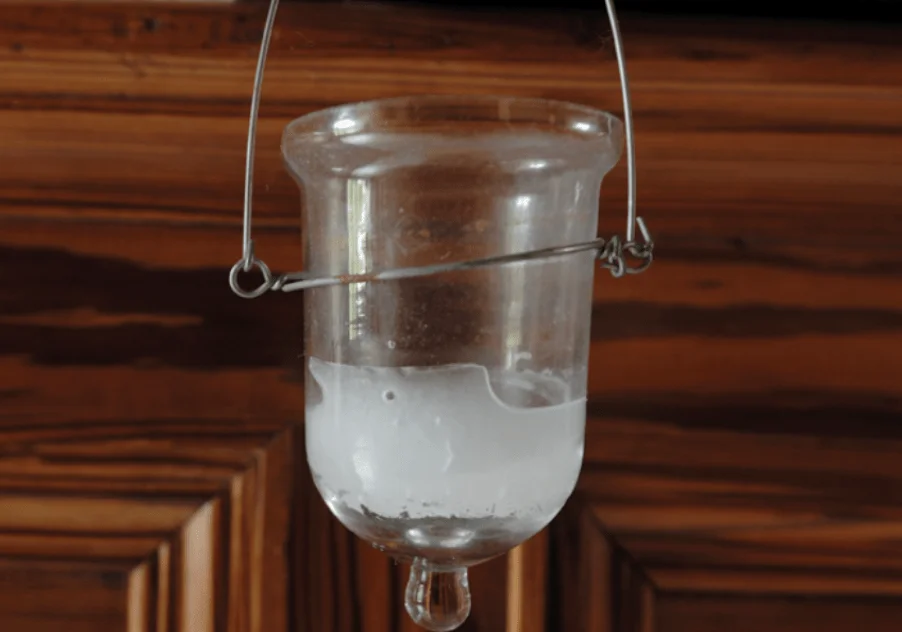
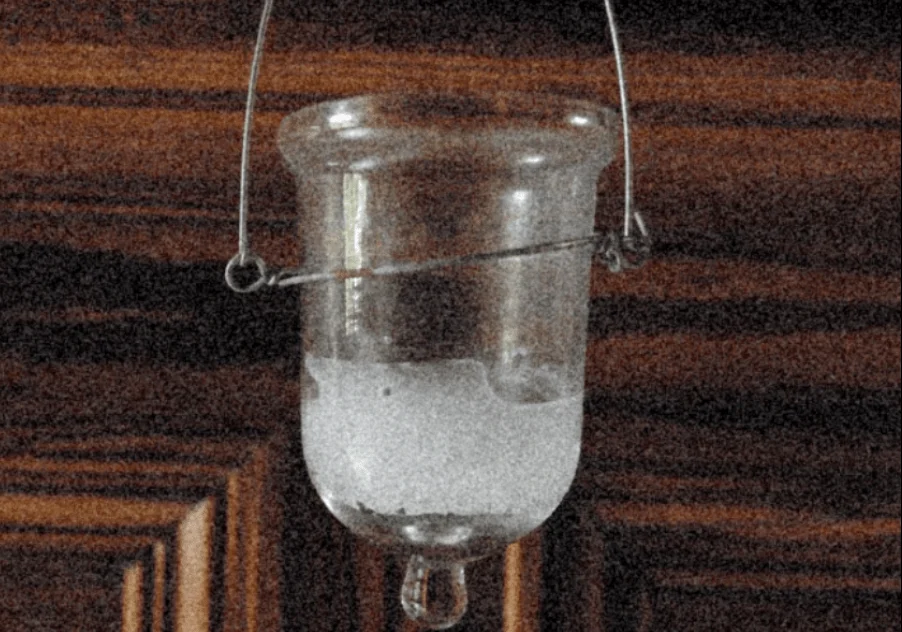
ISO measures the sensor’s sensitivity to light. Low ISO values (such as 100 or 200) are ideal for bright conditions and produce less digital noise. Conversely, high ISO values (such as 3200 or more) are needed in low-light conditions, but can increase noise and reduce image quality.
ISO 100
ISO 1600
Images © Stanislas LEDOUX
With regard to the exposure triangle, the higher the chosen sensitivity, the more the shutter speed can be increased (less incoming light is needed) to freeze moving subjects, or the diaphragm can be closed further to gain depth of field.
However, be aware that everything has a cost: a high sensitivity always results in a loss of image quality (digital noise).
Summary of the Exposure Triangle Concepts
The exposure triangle is the balance between aperture, shutter speed, and ISO. Changing one of these parameters affects the other two.
For example, increasing ISO to capture more light in a dark environment may require reducing the aperture or increasing the shutter speed to avoid overexposure. This interaction gives photographers creative control over the composition and atmosphere of their images.
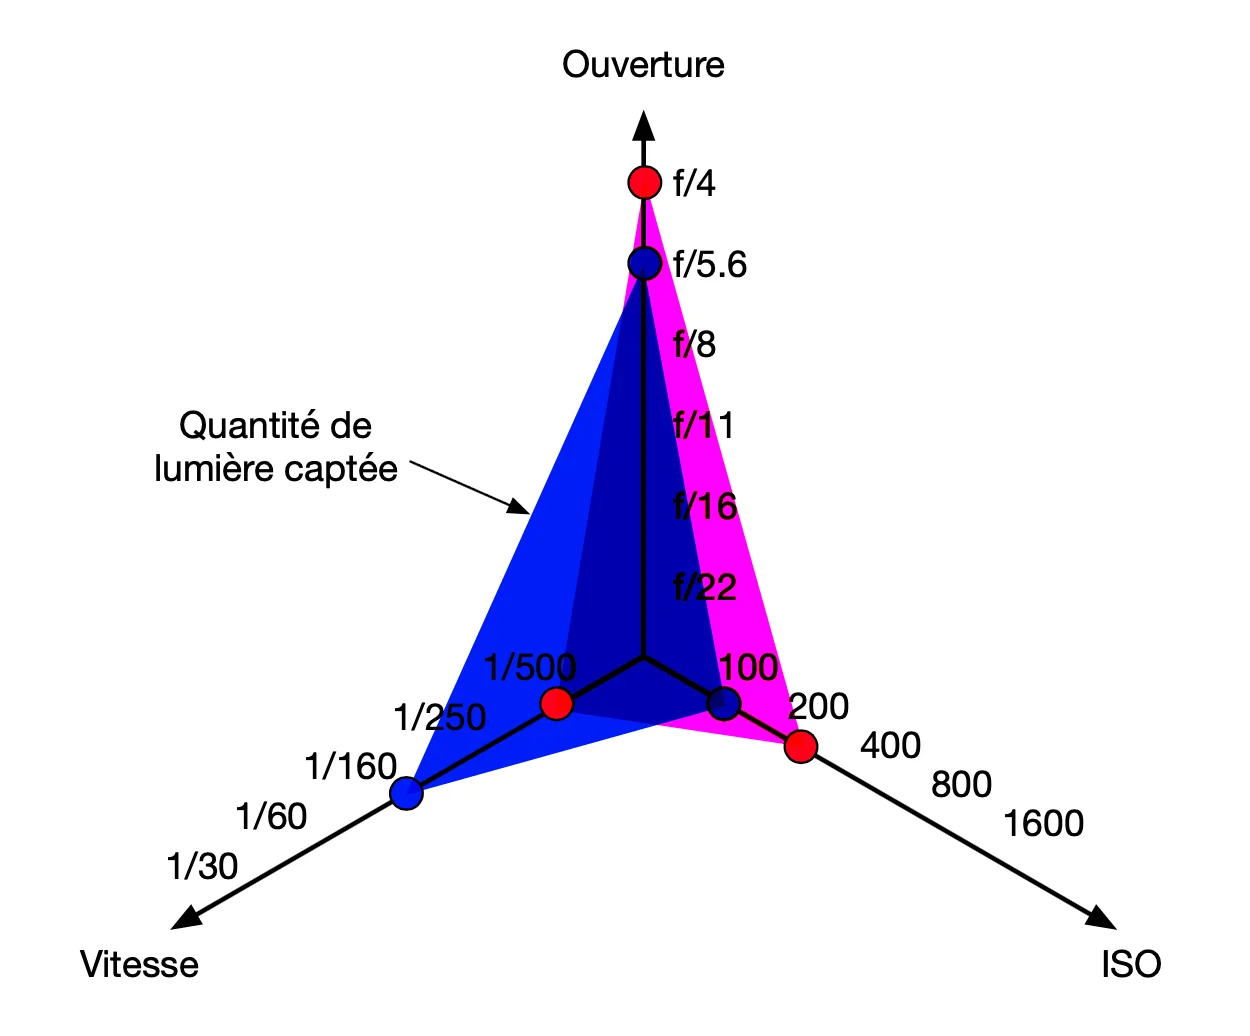
In the example above, we show two exposures where the amount of light captured is identical, but with two different settings of the shutter speed/aperture/ISO trio.
- In the first case, the chosen speed is 1/160 sec, and the setting needed to obtain a correct exposure of the subject is f/5.6 and ISO 100.
- In the second case, the speed had to be changed to 1/500 sec because the subject started moving and camera shake had to be avoided. This results in a decrease of 2 stops in the amount of light captured. How can this change be compensated for? By adjusting the other two parameters: here, we chose to regain 1 stop on the aperture (from f/5.6 to f/4) and 1 stop on the sensitivity (from ISO 100 to ISO 200). It would also have been possible to regain both stops solely on the ISO axis, but at the cost of a greater loss of image quality.
Transform Your Visual Communication with Professional Photography Training
Want to reveal the visual potential of your projects with remarkable elegance and precision? Discover how my individually designed, tailor-made photography training can revolutionise your team’s visual communication. We cover crucial aspects such as mastering light, post-processing techniques, and developing a unique photographic identity, essential for showcasing your company’s achievements. As a passionate instructor, I offer you personalised learning and practical advice to help you excel in your field. Seize this opportunity to improve your photography skills and tell the story of your projects in a captivating way. Your journey into the art of photography starts here.